Warm up - A still life
The value of layering like this is that we can produce a more dynamic, subtle and interesting image.
In this video we will practically explore layering as part of our normal sketching process, and consider at each step what we are trying to achieve.
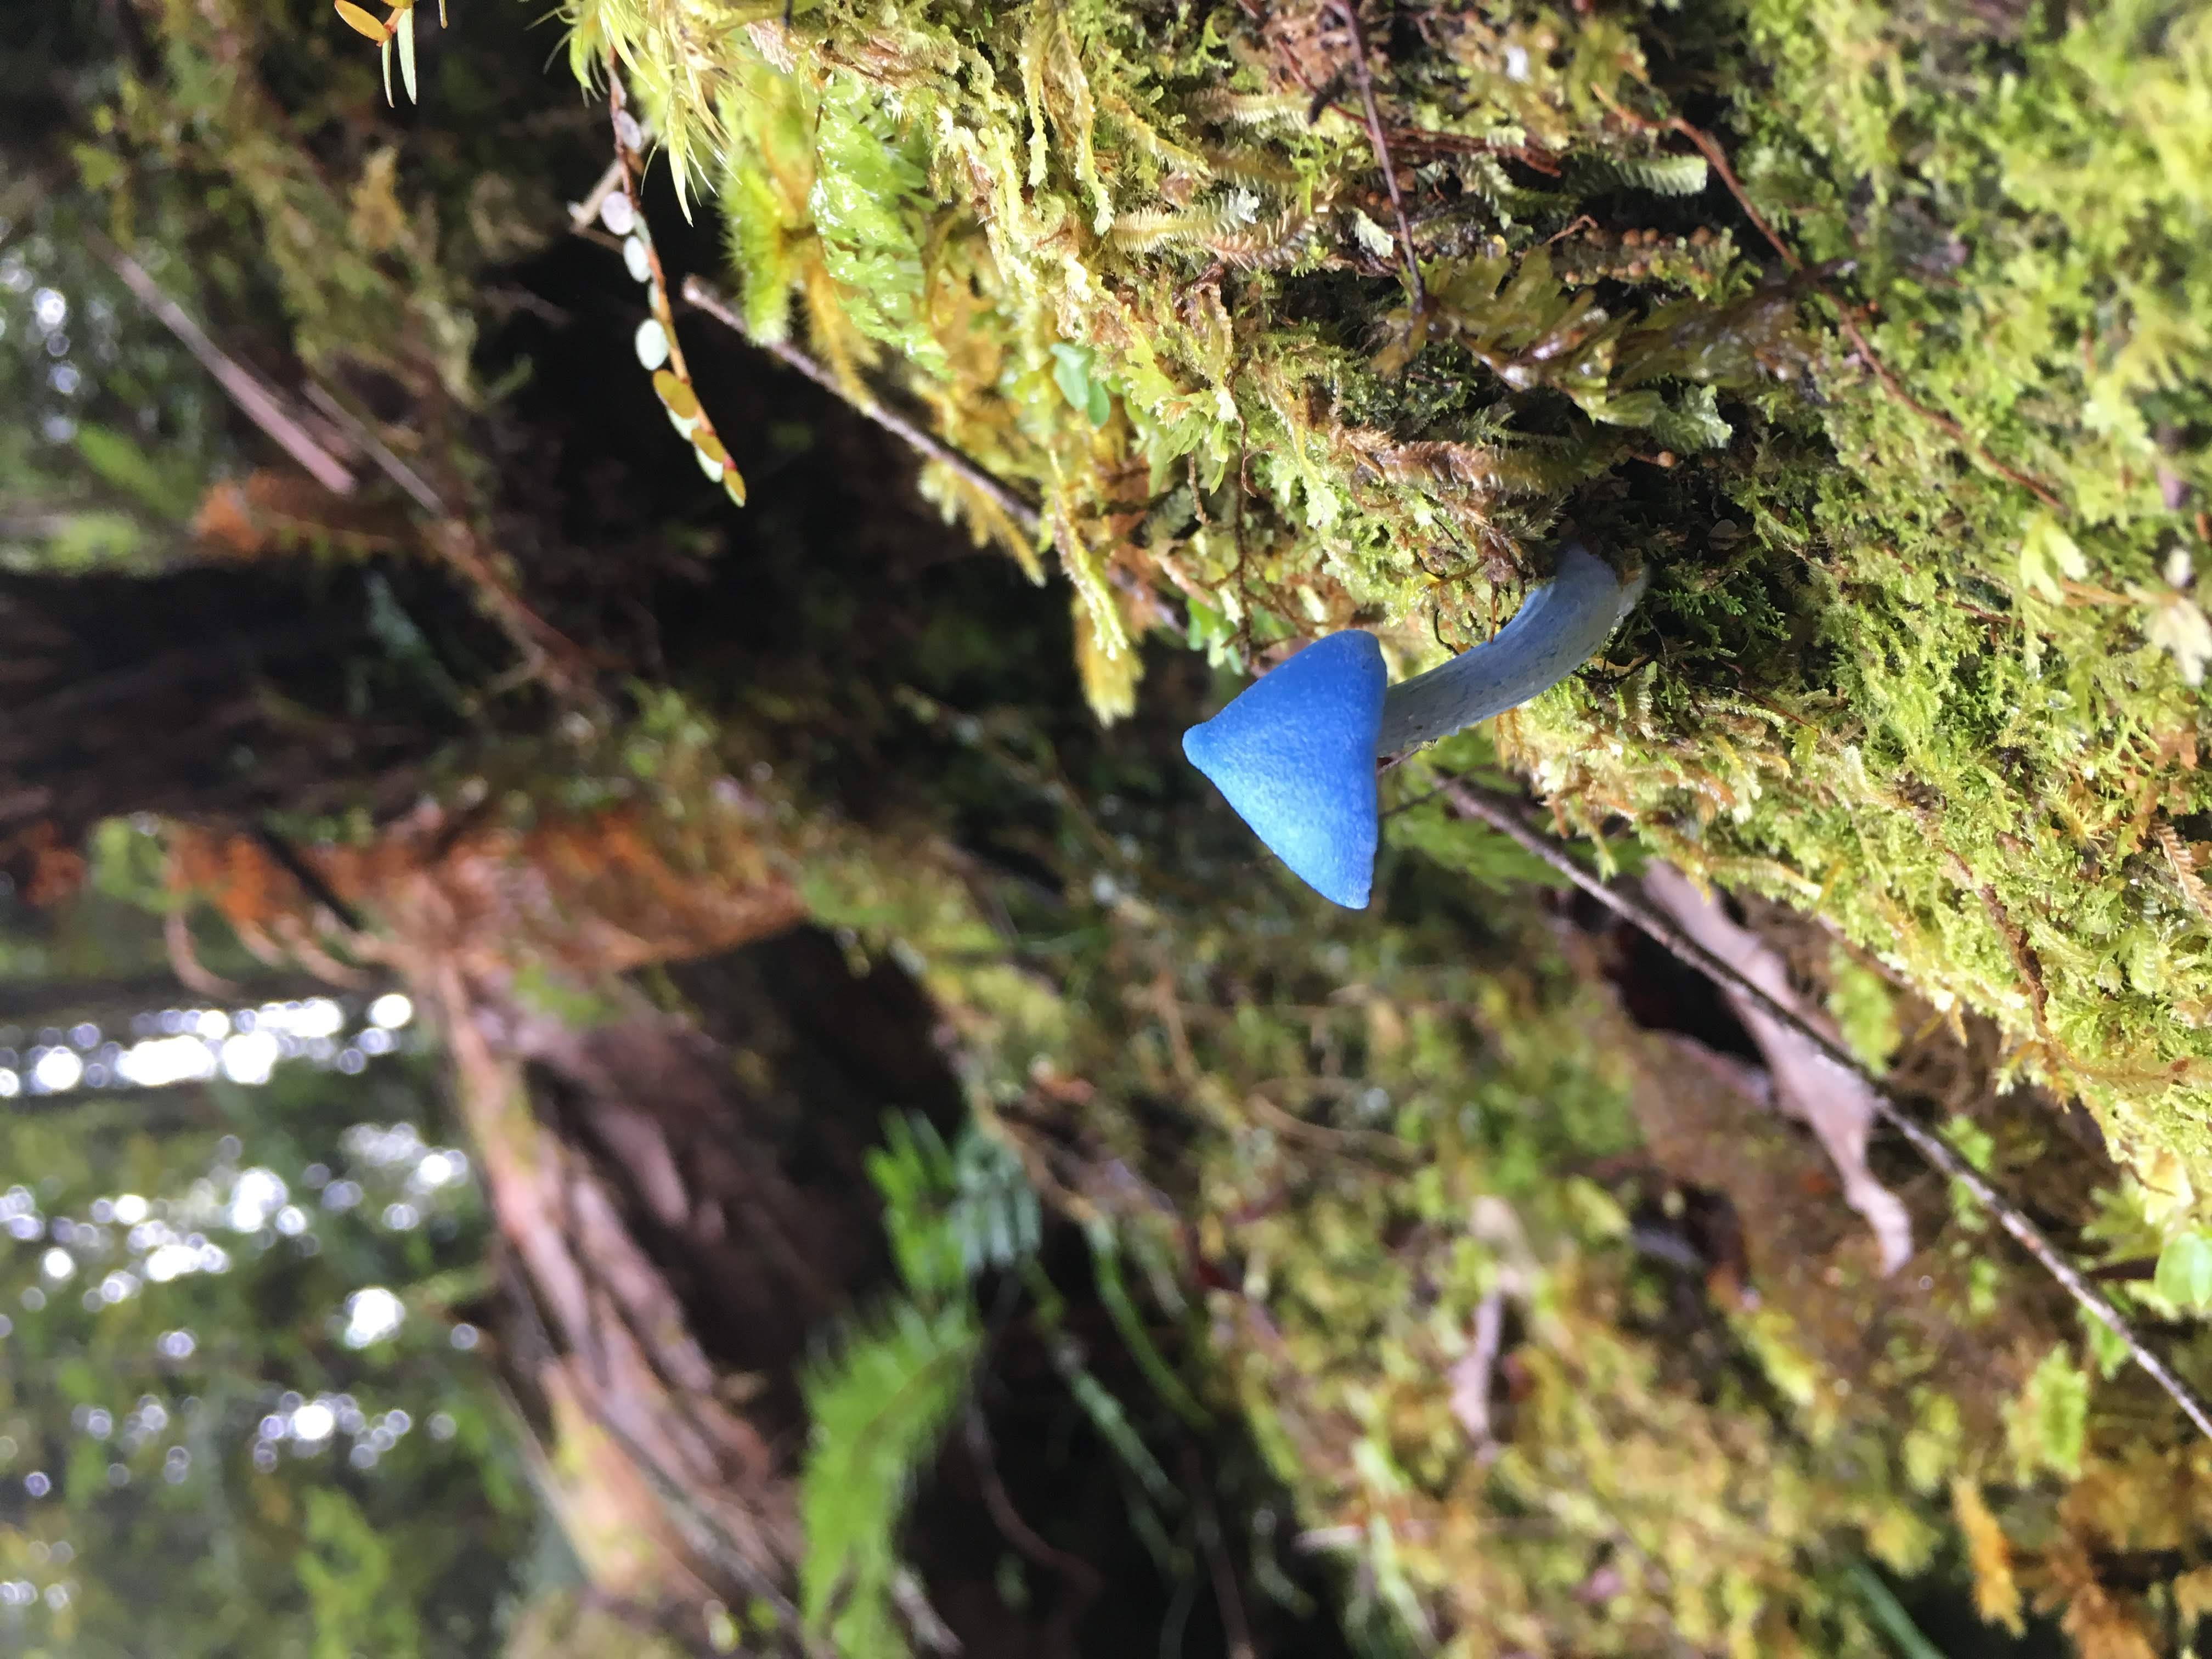
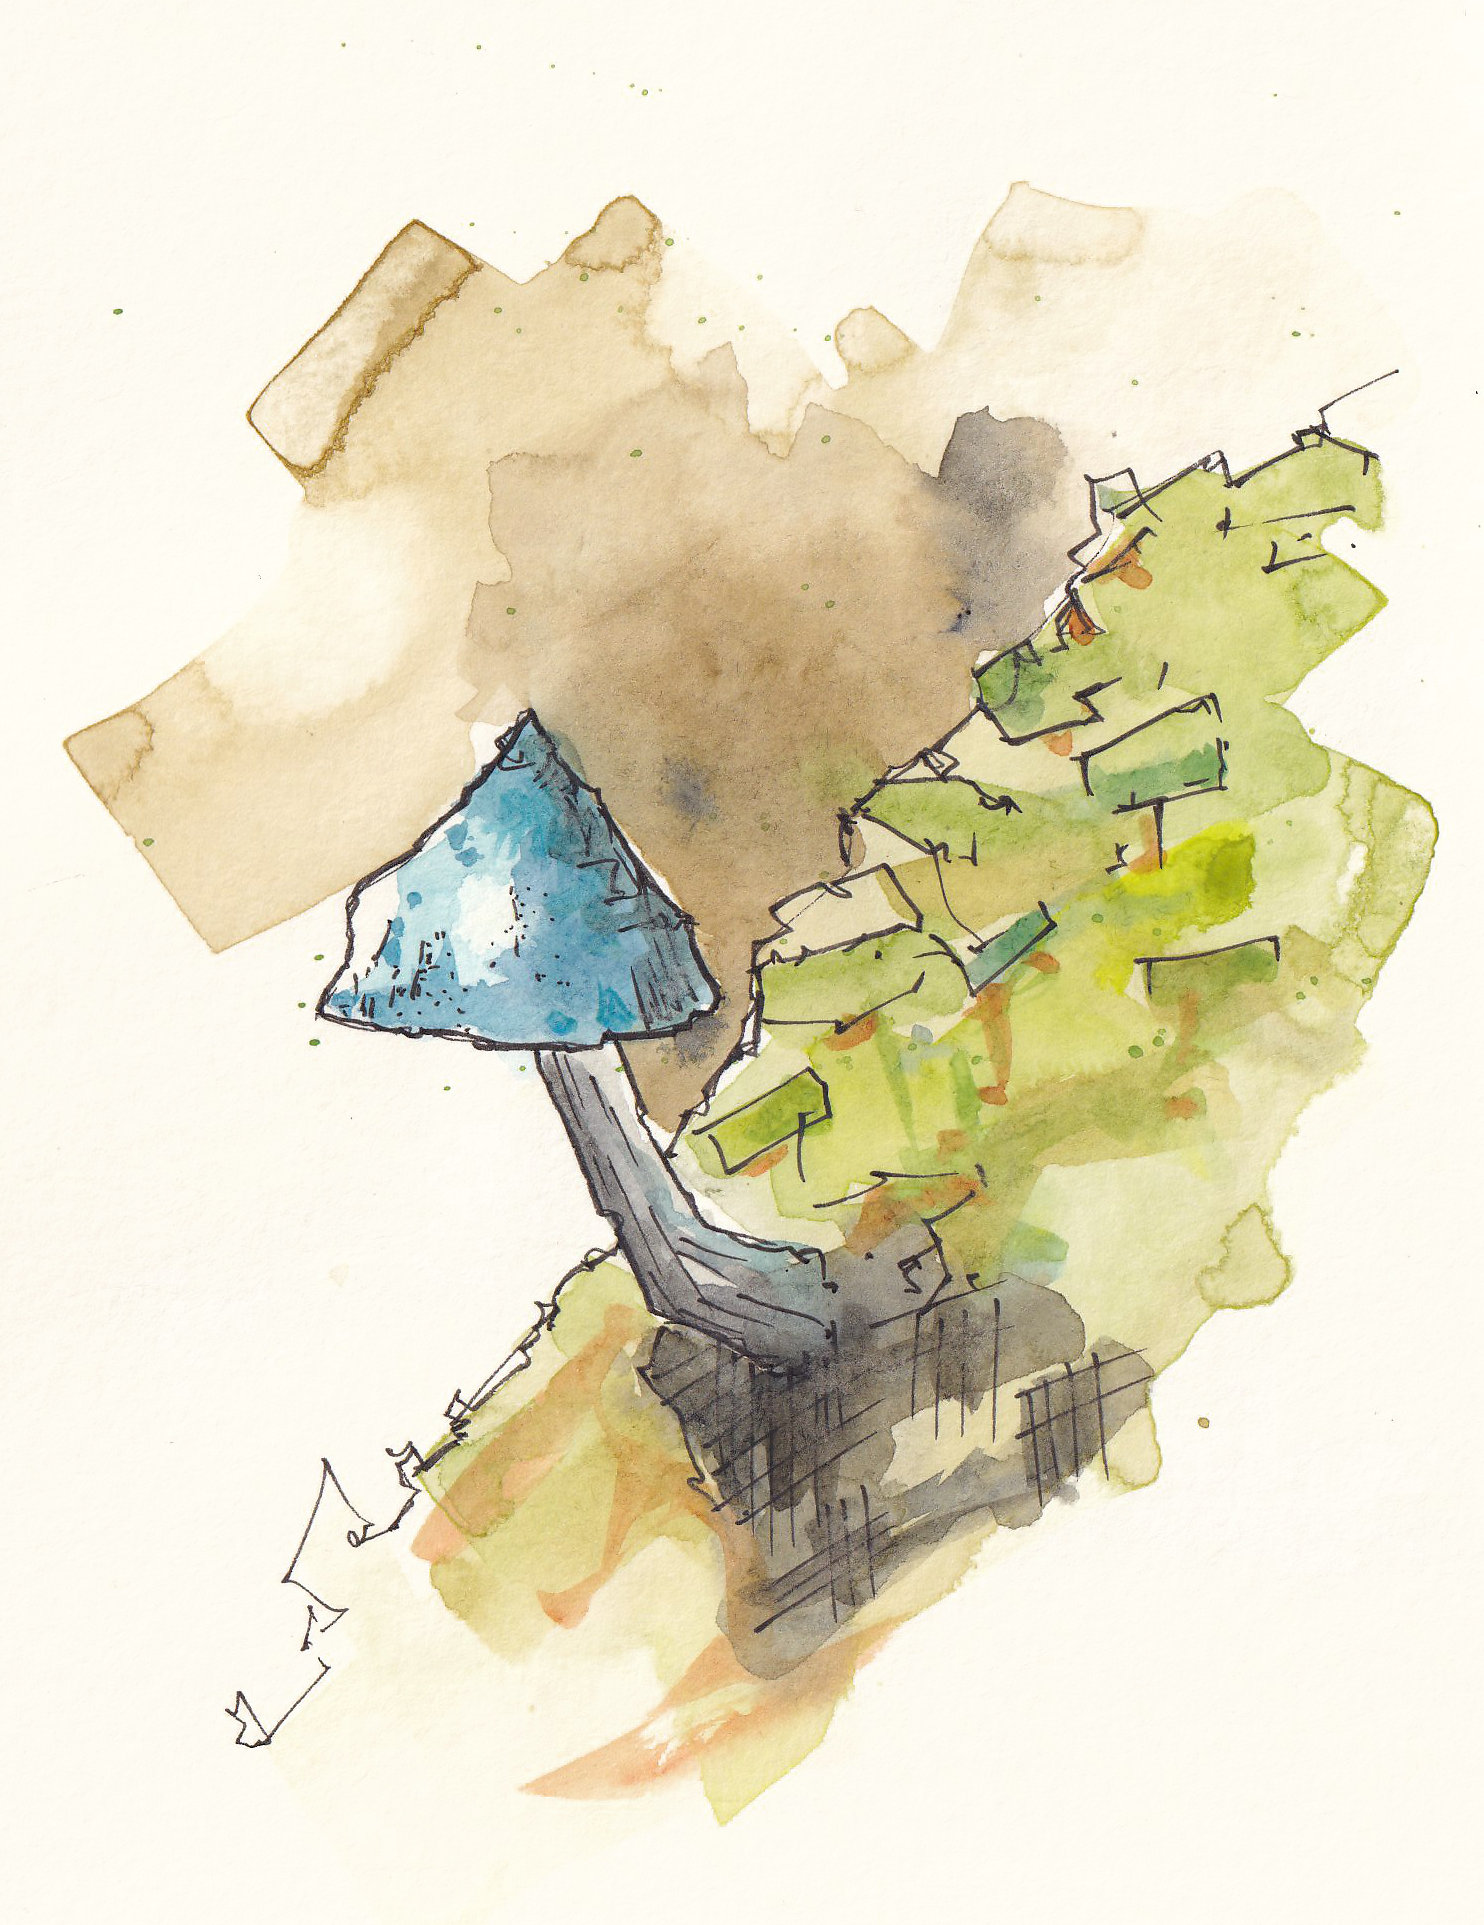
Below is the downloadable reference and my finished example
Extra notes
The first hting in this exercise that is worth recognising, is that we are having to interpret the image an awful lot. Zooming in on the mushroom, making a good composition from it, simplifying the foreground and the background.
Recognising that simplicity will work, but can also be challenging to create, is really important here.
Intentional lines
A key idea here, in simplifying, is being very intentional with your lines. This means a few things:
1) Avoiding scruffy outlines
2) Avoiding scribbly hatching
3) Using consistent marks to replicate the textures - but recognising these are sketched, not perfect, textures
Example one:
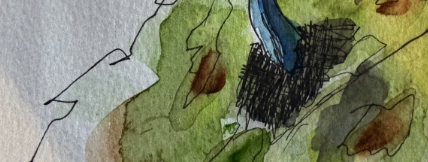
This example has a really delightful contour. The sharply moving angles of the lines on the life are delightful. But the hatching is very scribbly and dense, so it overpowers the contours and really pulls the eye in. Less is more here to keep the magic of the contours.
Example two:
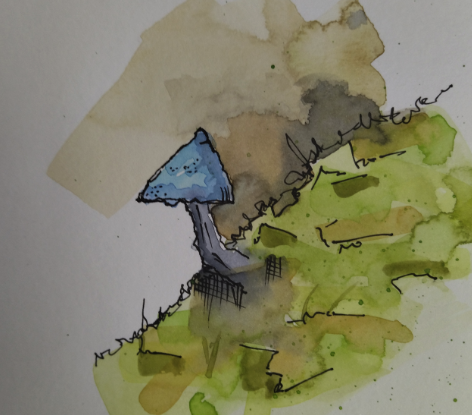
This example is beuatifully simple in execution and has very lovley layering. The contour on the right of the mushroom is just a tiny bit scribbly, rather than feeling totally intentional. But again, the linework and colours elsewhere are fab.
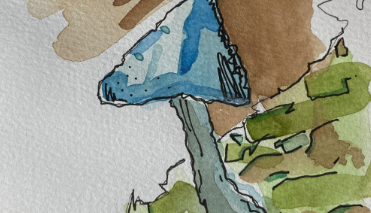
Soft colours
Notice in my example there is a very soft underpainting, then just a few places of what I hope feel like intentional layers. The layers are done on a totally dry page, and you can't see and awful lot of brushstrokes.
The example below is just a little too dry - notice lots of brushstrokes building up. That has been a bit of a common theme here, and comes down not to people's skill, at all. It is the nature of trying to replicate the busy textures of the photo, but not recognising that often, in this loose style, that will become a bit cumbersome.
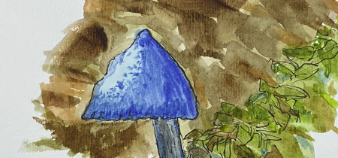
Wet on wet?
This photo is one that does lend itself naturally to wet on wet. Which is something you might try if you want to. The example below has some fantastic wet on wet movement through the underpainting. Ntoice, however, that it isn't overdone, and there are still some crystal clear layers on top of that to create depth.