19 - Soluble ink and simple lines
Here is your reference:

Less is more with soluble ink
Welcome back. Today we are looking at how a continuous line combined with water-soluble ink can create a beautiful sketch in just a few minutes. The main idea here is that less is more. We are going to skip the heavy hatching and rely on the water to do the hard work for us.
Finding the right tools
You do not need fancy equipment for this technique. While a dedicated soluble ink pen is great, you have plenty of alternatives to try. Standard fountain pen ink is usually water-soluble. You can also use watercolor pencils or even normal rollerball pens that you probably already have lying around the house. Grab whatever you have and a simple wet paint brush.
Sketching the scene
Here is how to approach a complex scene, like a detailed castle, without getting overwhelmed.
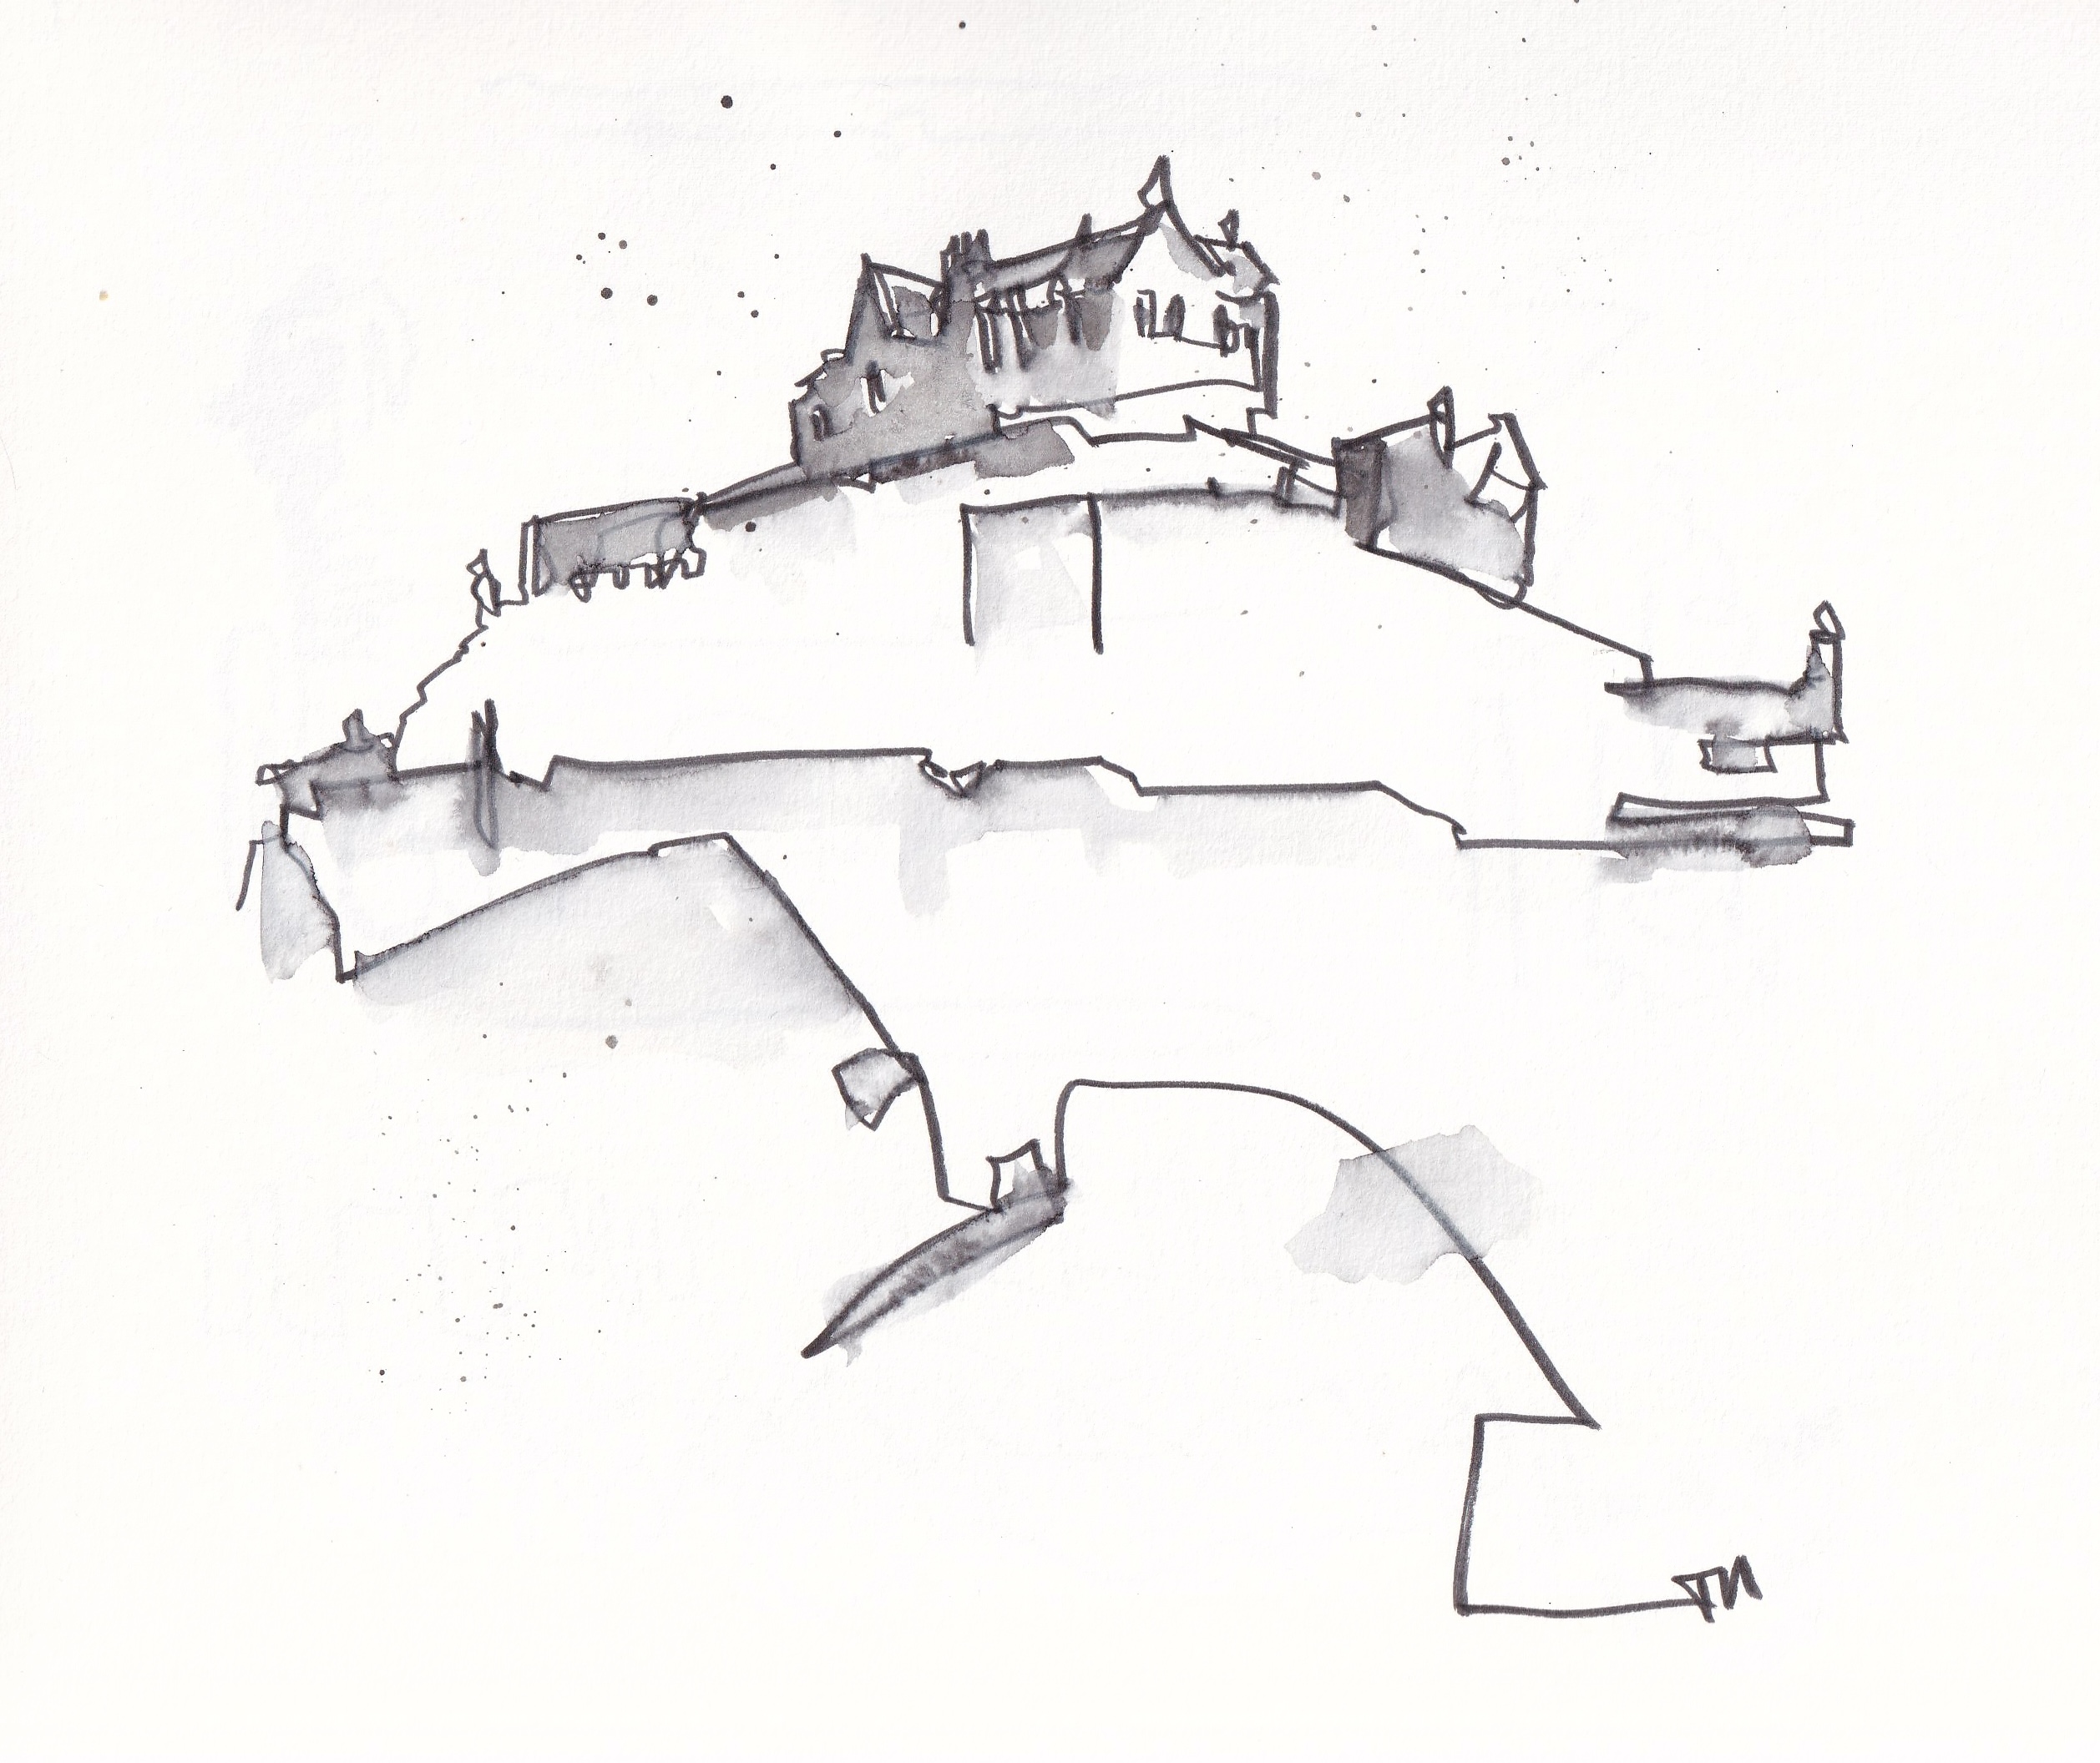
Keep the shapes simple. Start by capturing the basic silhouette with your continuous line. Do not worry about counting every single window or drawing every brick.
Focus on the focal point. As your line moves toward the main point of interest in your scene, add a little more detail and press a bit harder with your pen. Pressing harder puts more ink on the page. This extra ink will give us a much bolder wash and higher contrast when we add water later.
Skip the extra steps. In this specific quick sketch, we did not do our usual bold line step or add complex textures. We are skipping hatching and using the wash to create our value instead. However, you absolutely could add bold lines and textures if you wanted to spend more time on the piece.
Activating the ink
Once your light continuous line is down, it is time to grab your wet brush and activate the ink.
Touch the line, do not scrub. This is the golden rule of soluble ink. If you scrub your brush back and forth over your drawing, the entire line will become fussy and fuzzy.
Create directional ink. Instead of scrubbing over the drawing, gently touch the edge of your ink line with a wet brush. The water will pull the ink outward in the direction of your brushstroke. This gives you beautiful, directional shadows.
Build the contrast. When you touch the lines around your focal point where you pressed harder, that concentrated ink will automatically release a darker, bolder wash right where you need the most contrast.
Adding final details
If your sketch needs a little more depth, you can pick up wet ink directly from the back of your pen nib using your damp brush. Just drop that pure ink straight into the deepest shadows under the eaves or walls. Finally, you can gently flick your wet brush against the pen to create a few loose splatters across the sky. This adds a lovely touch of playful energy to your piece.
Extra notes
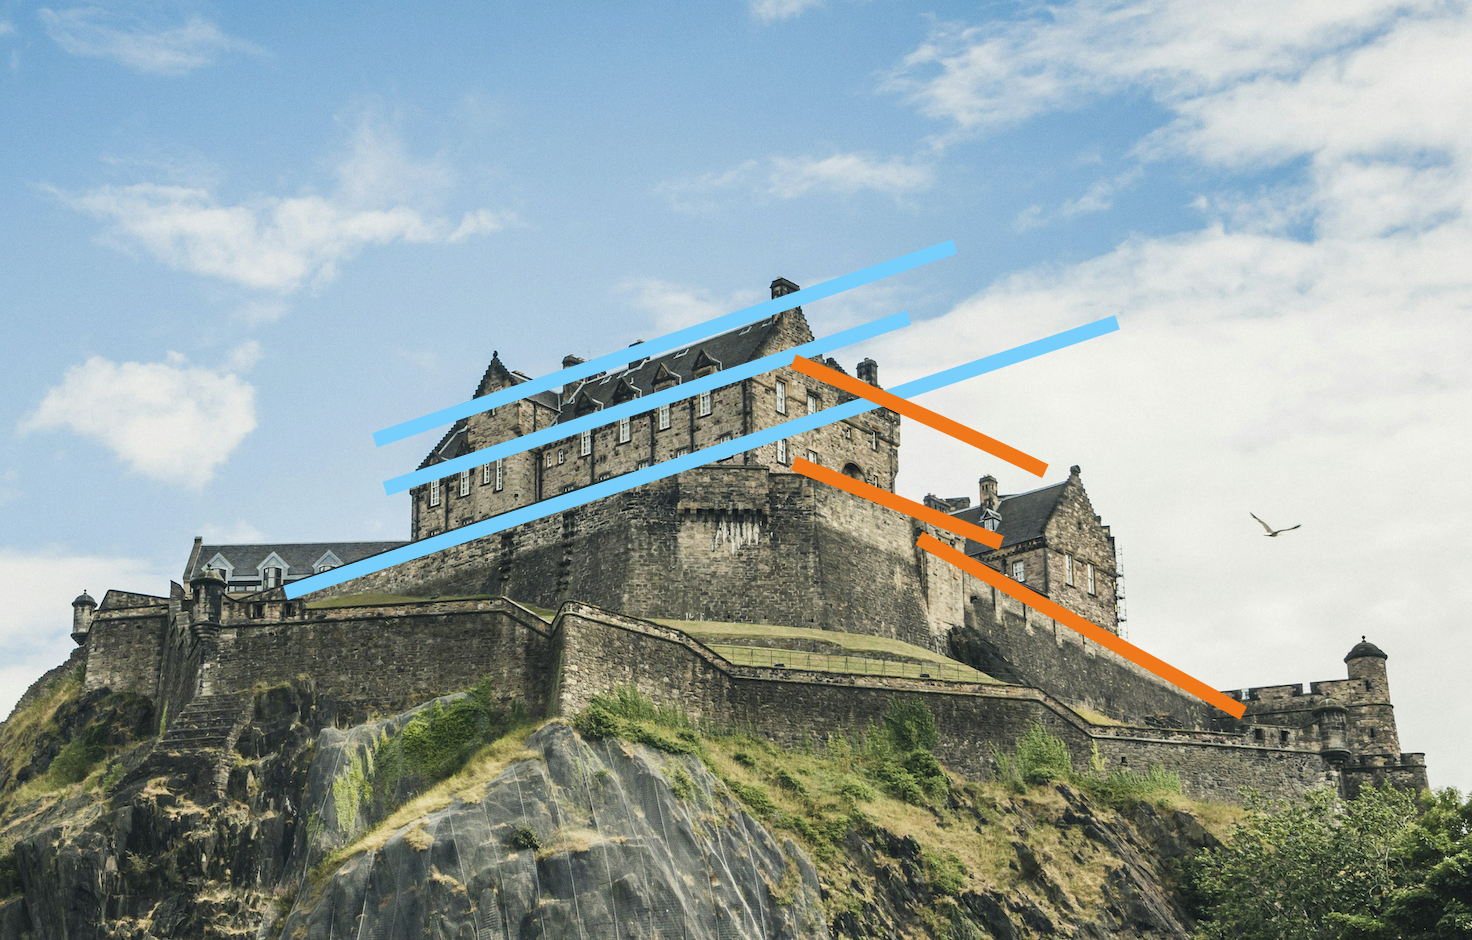
As with our other scenes we have a little perspective here. Just take not of the directions of the blue and orange lines. Broadly on the left they go up from left to right, on the right they go down from left to right. Just take you time to really look at what is happening as well, because there are a few counter-intuitive angles to take note of :)