Sketching Study - Vital Fundamentals Refresher!
This lesson is JAM PACKED with information! You might find it handy, as you go through the video, to make notes in your sketchbook of any of the tips/tricks or ideas that I talk through here.
We'll remind ourselves of the topics from workshops one and two, and how they fit into my five step process for sketching.
Then we'll make sure that we have a shared understanding of watercolours.
I'll be using this reference and guiding you through my process:
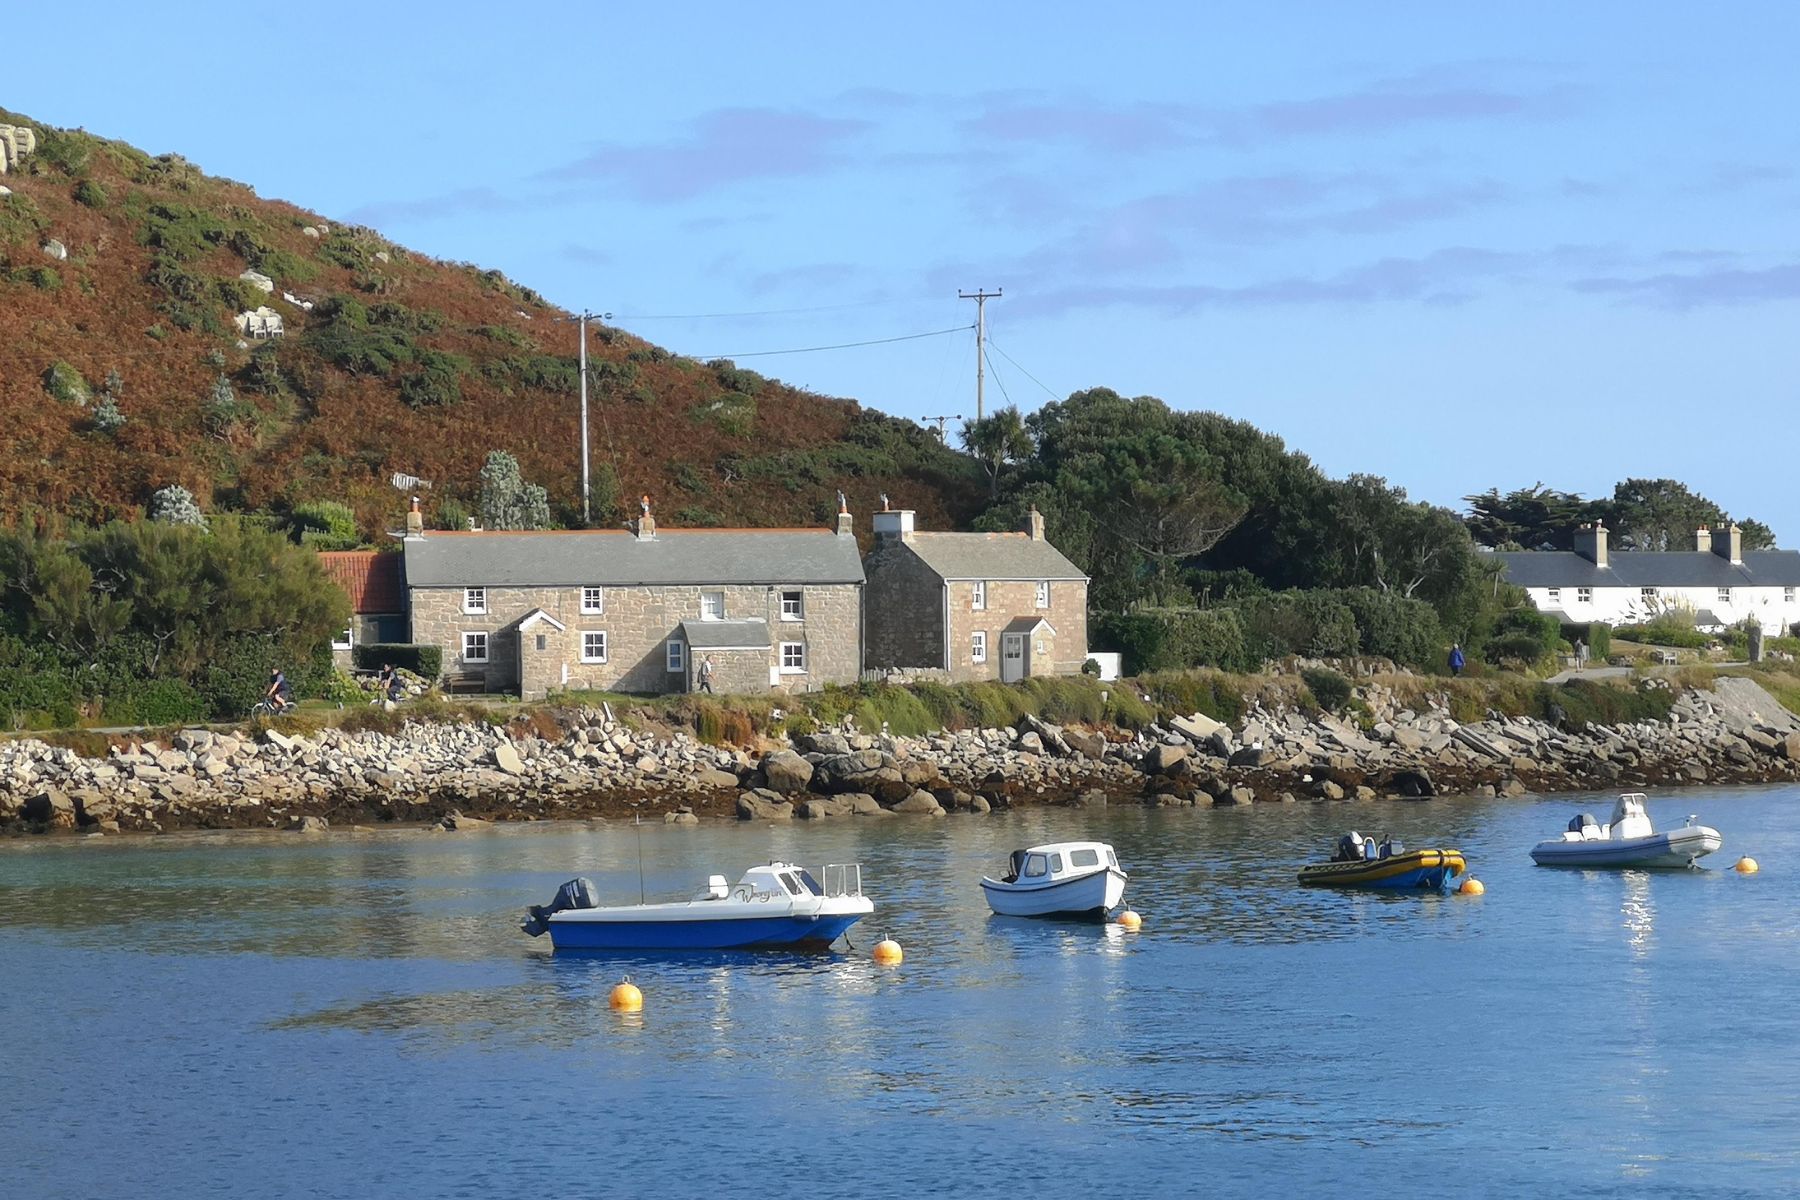
The 5 Step Process
My five step process underpins everything I do in art. Having a firm process is a safety net and a confidence booster. It means I can break the rules and try things out. I can be hyper-experimental. But I can fall back on my process to make sure that, no matter how experimental I get, I am able to be consistent, repeatable and successful in my goals.
This is my process - it is not law, nor is it necessarily the best process for you. But it is really successful for me. So I'd encourage you to try it out, and as you gain confidence to adapt it and change it and make it your own.
Pitfalls I've noticed
Over the years of teaching—thousands and thousands of fellow sketchers—I've started to notice some familiar patterns that can lead to frustration. These are completely normal ways of thinking, and the good news is, there are clear ways through them.
One common pattern I see is among highly experimental sketchers. These are people full of energy and creativity, and they often create magical moments in their work. But those moments can feel hard to repeat, which can lead to feeling stuck or discouraged. What’s often missing is a solid foundation. It’s a myth that creative breakthroughs come out of nowhere—they’re usually built from repetition, practice, and a willingness to explore with purpose. A great example is Picasso: wildly experimental across all sorts of media, yet his sketchbooks reveal a deep commitment to repetition. Hundreds of versions of the same image, each slightly different, building towards something new. So if this sounds familiar, the solution might not be to pull back on the experimentation, but to pair it with some consistent, focussed exploration—finding a process that you enjoy and works for you, and trying one new thing at a time.
Another pattern I notice is in those who lack confidence and feel stuck doing the same thing over and over. In these cases, I’ve found that even when I offer feedback, it’s hard for it to sink in—often because anxiety takes over the moment they pick up a pen or brush. That’s completely understandable. When we’re nervous, it’s harder to think clearly or try something new. A simple shift that helps here is stepping away from the pressure of a ‘finished’ sketch. Start with tiny warm-ups. Give yourself permission to scribble. Make a mess. Set a timer for 5 minutes and explore one technique—like fewer brushstrokes or more contrast—and then stop. It builds confidence in small, manageable steps. Having a simple process also works here - don't approach the painting as a whole, each step is all you are focussing on at any given time. And remember, it won't look finished until the end.
But here’s the heartening part: I’ve yet to meet anyone who, after spending even a short time really engaging with their sketching, hasn’t experienced a breakthrough. Progress might look different for everyone, but it always comes—with a little structure, a bit of curiosity, and a lot of kindness towards yourself.
OK... but what ARE the steps?
Of course, I've a predisposition towards waffling! Let's get back on track:
-
Step One - Shapes
Here, our goal is to use very light lines initially to mark in simple shapes (workshop one)
Before adding a sense of detail and texture with perhaps some bolder marks (workshop two)
-
Step Two - Loose Colours
Now we use a big brush, and let our colours flow across the page.
Make a decision here about a 'thematic area' to NOT paint
-
Step Three - Bold Colours
Having let the page dry (or bravely continuing wet-on-wet as we'll explore in this workshop), we add bolder colours, becoming more and more focussed and specific about the areas we are colouring.
-
Step Four - Restructuring
Again, let the page dry, and add ink lines again. Just a few cautious lines can make the image pop, and sometimes this isn't needed at all.
-
Step Five - Final Touches
Here, anything goes. More ink, mixed media, bold watercolours.
And of course... splatters!
Mindset and the painting process
After step one, your image will probably already look quite strong—our shapes usually have a bold, simple quality that feels satisfying. It’s a great moment and often gives a little boost of confidence.
Then… we add colour. And suddenly everything looks off. Messy. Weak. “Oh no,” you might think, “I’ve ruined it.”
But don’t panic—this is completely normal. Adding colour can temporarily disguise the structure we built. It often feels like a step backwards before things start to come together again. Colours can look flat or patchy at first, and that’s okay.
The key is to keep going. The final two steps in our process are essential—this is where contrast is added, and where we bring in focus and clarity (see Workshop 4!). So take your time, trust in the layers, and let the painting evolve. It’s not ruined—it’s just in progress.
And there is more... how to STOP PAINTING!
This is such a frequently asked question, and I want to boost your confidence by saying it is really very simple! Simple doesn't necessarily mean easy, or that you'll get it right straight away. But in this video, I'll show you a very simple framework for deciding what is going to be blank.
After you've made that decision... well the only thing left to do is remember to not paint it! Which is sometimes easier said than done.
Here is my finished version:
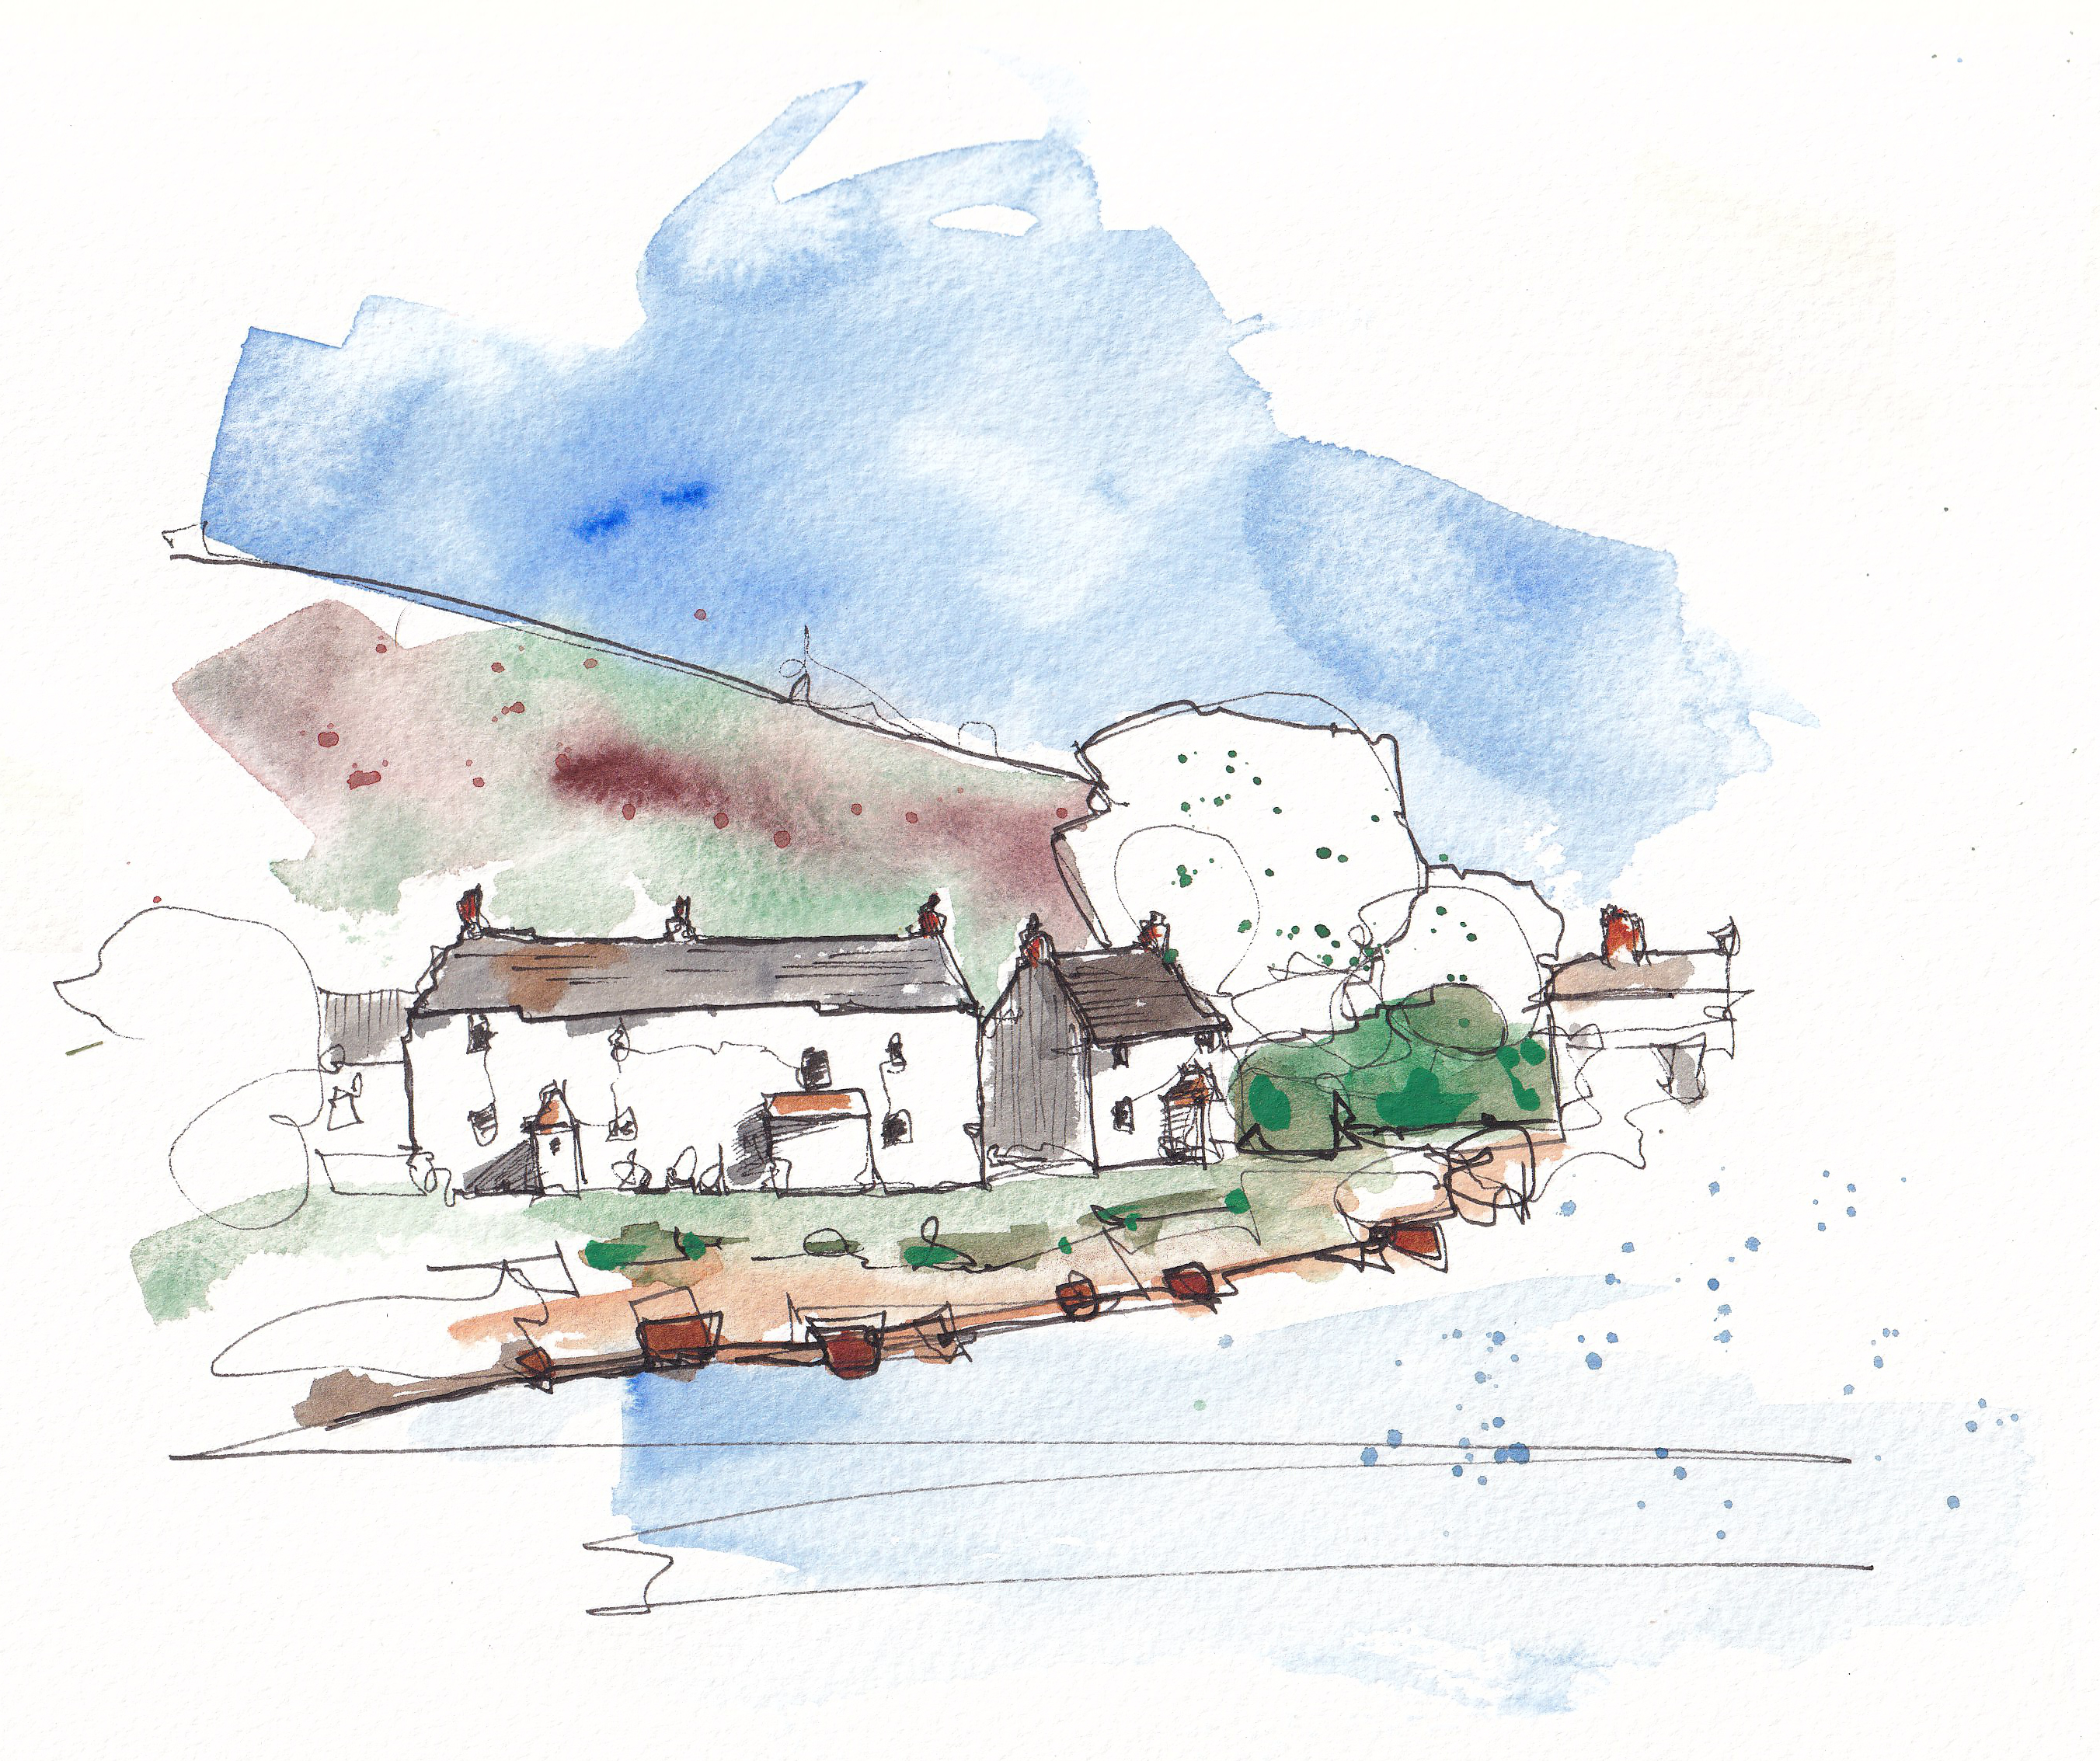
Materials Used:
Surface - St Cuthberts Mill, Saunders Waterford 'High White' 310mm x 230mm (100% Cotton) (Links here)
Pen and Ink - 3776 Platinum, with UEF nib, Carbon Black Ink (Links here)
Brushes - 1inch flat by Jackson's Art, and a collection of smaller brushes (Links here)
Colours - Daniel Smith paints - Cobalt Blue, Cerulean Blue, Indigo, Indian Red, Cobalt Green, Hansa Yellow Medium, Lunar Earth, Quinacridone Sienna (Links here)