4 - Concept demo: controlling pigment movement and line weight
Controlling how pigment moves once water touches your paper is one of the most vital skills in watercolour pencil sketching. It is very easy to draw a clear, structured sketch and then turn it into a muddy splodge the moment you pick up a wet brush. By understanding how colours activate, how water guides pigment, and how line weight acts as a built-in reservoir for shade, you can gain total control over your washes while keeping your line work crisp and purposeful.
Understanding how activated colours behave
Dry pencil leads can be incredibly deceptive because the colour on the lead rarely matches the shade that appears once activated.
Dry versus wet appearance: A pencil like Dark Chocolate might look like a deep sepia lead, but it activates into a warm Indian red. Another murky lead (iron green) might bloom into a surprisingly bright green.
Swatch your palette: Always swatch your pencils wet on a test sheet before bringing them to your main sketch. This stops you carrying unnecessary pencils and avoids unwanted colour surprises mid-drawing.
How pigment follows water
When you apply water to a dry pencil line, pigment naturally flows wherever the water goes. If you scrub across a line, you dissolve it completely and spread colour everywhere, destroying the original structure of your drawing.
Touch the line gently: Touch the edge of your pencil line with a damp brush and pull the water outwards into the shadow area.
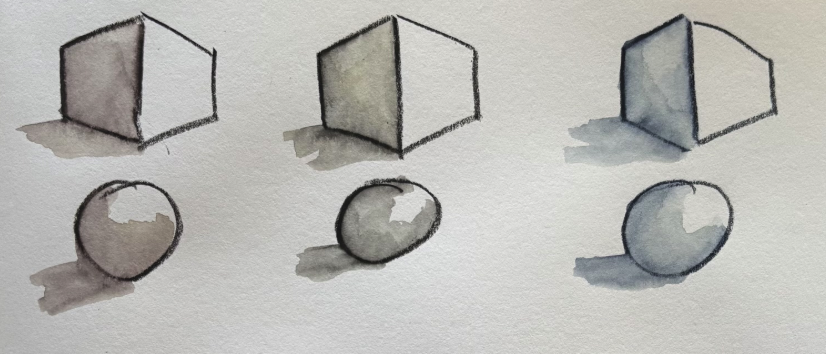
Do not scrub lines you want to keep: Avoid scrubbing back and forth across your line work unless you deliberately want to erase the line. In the images below, that's exactly what I did!
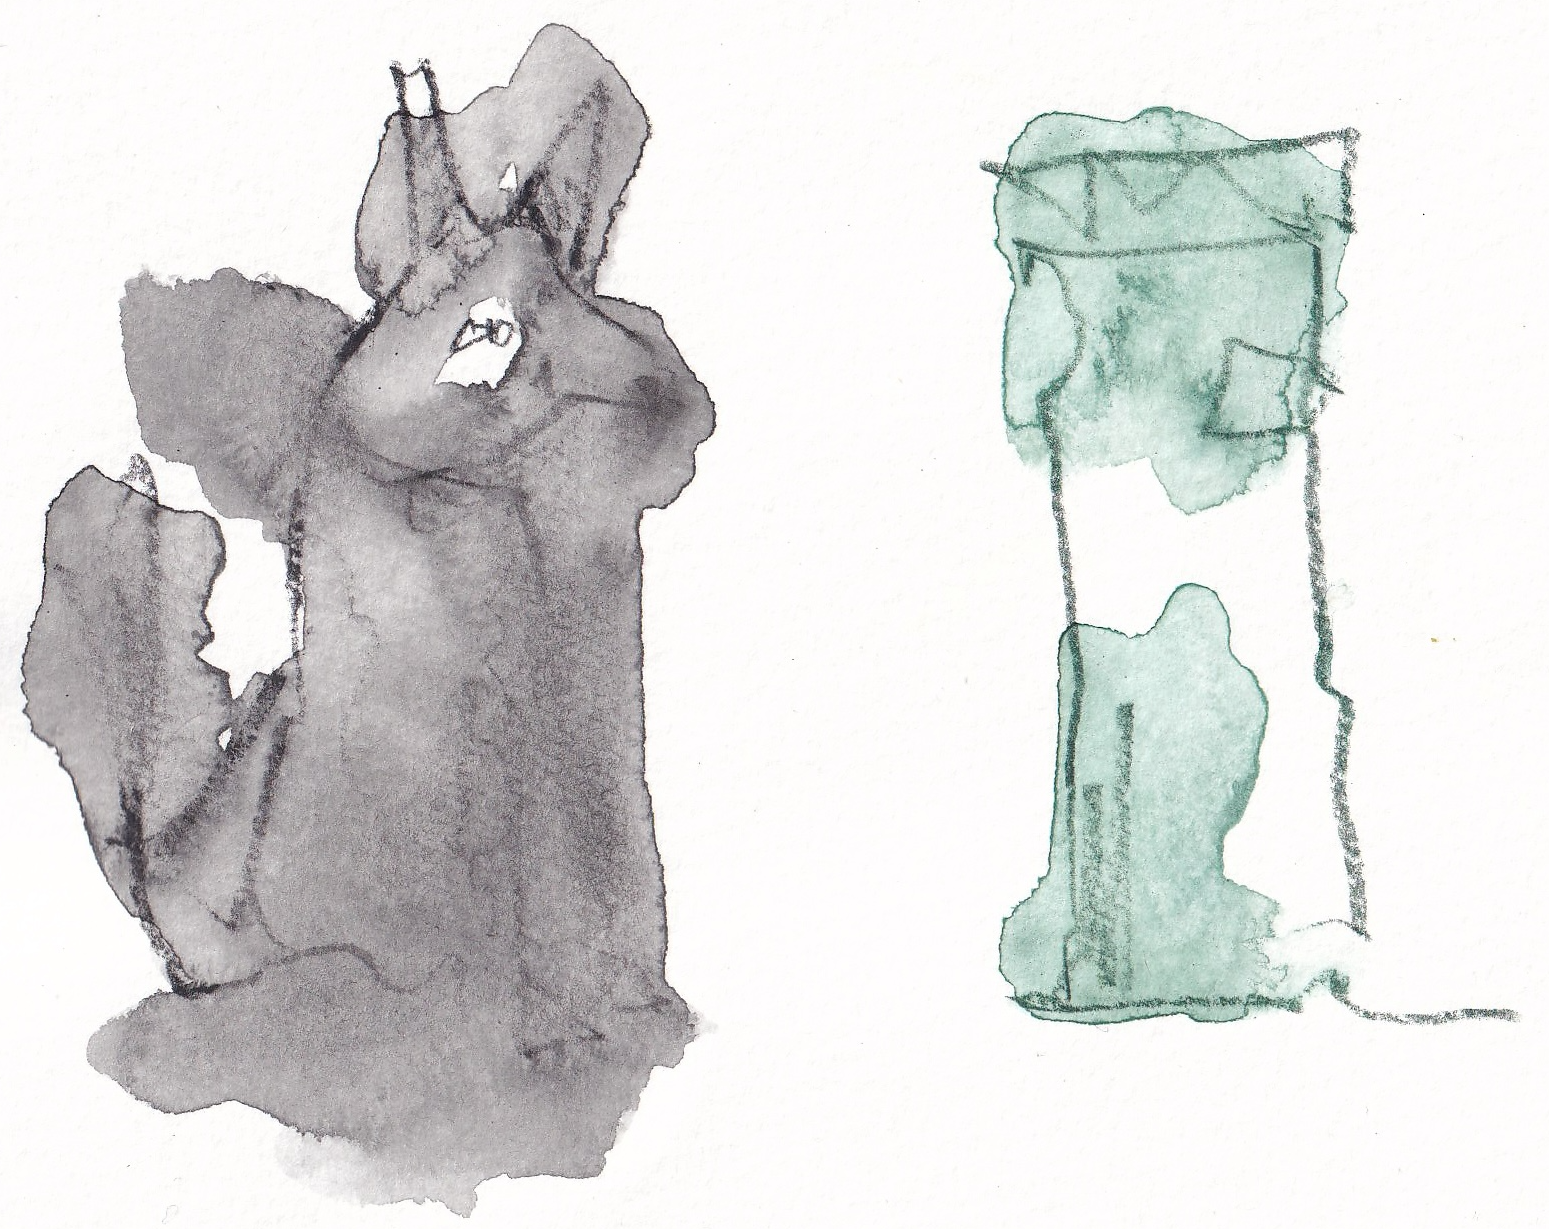
Let water do the work: Water acts as a path for pigment, so keep your brushwork light and allow the pigment to float into damp areas naturally.
-
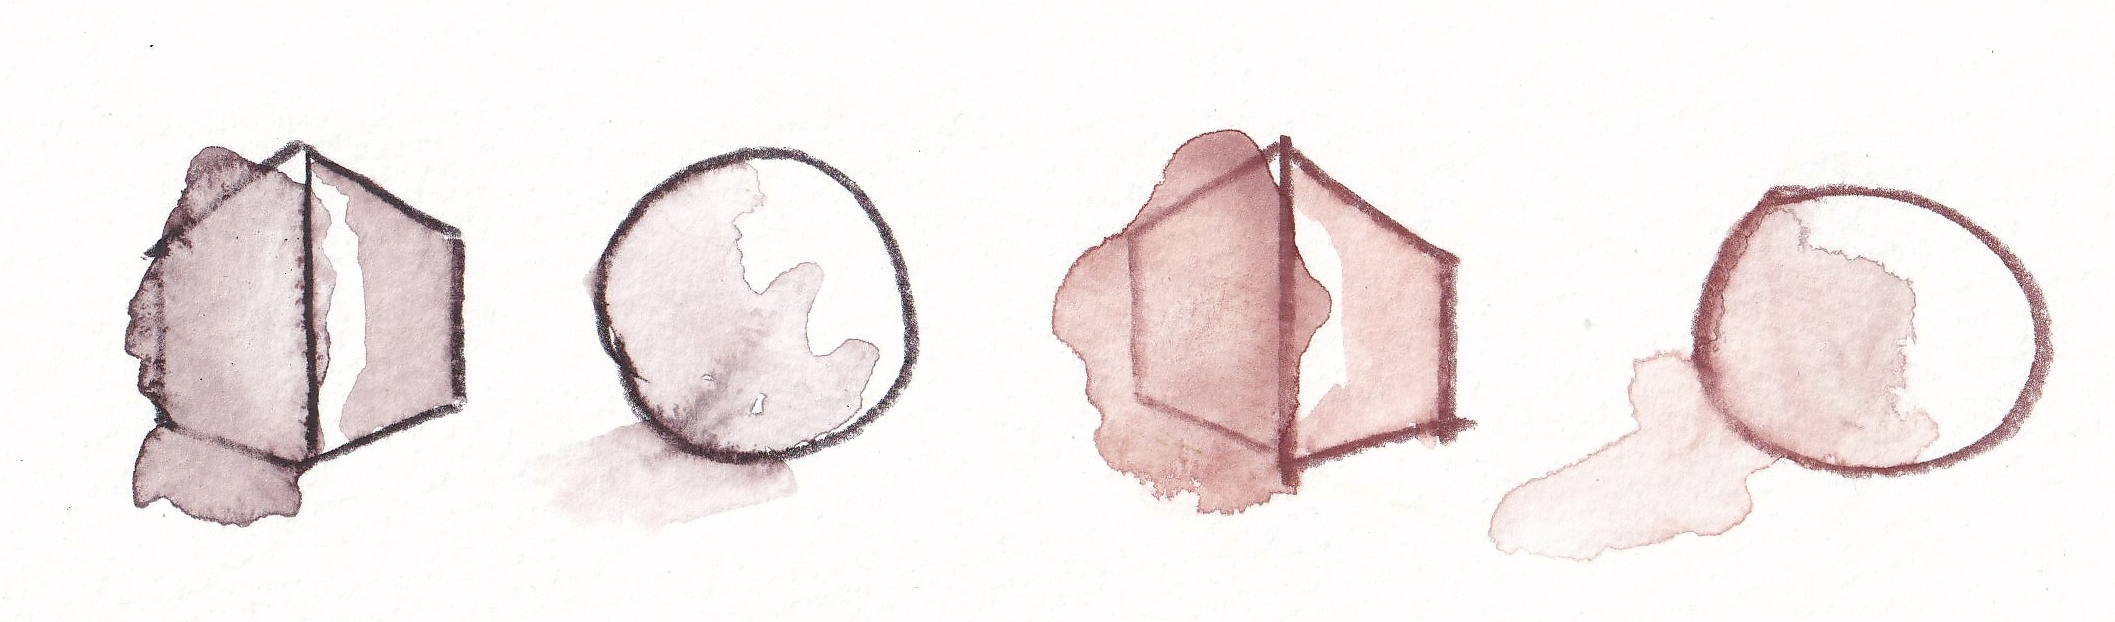
Create intentional expanding shadows: To create a soft shadow beneath an object, place clean water on the page first, then touch the pencil line. The pigment will flow naturally into the wet shape while leaving the main body clean.
Pre-planning with line weight
Line weight is a simple yet effective way to pre-plan your shading. The harder you press or the thicker your line, the more pigment you deposit onto the paper.
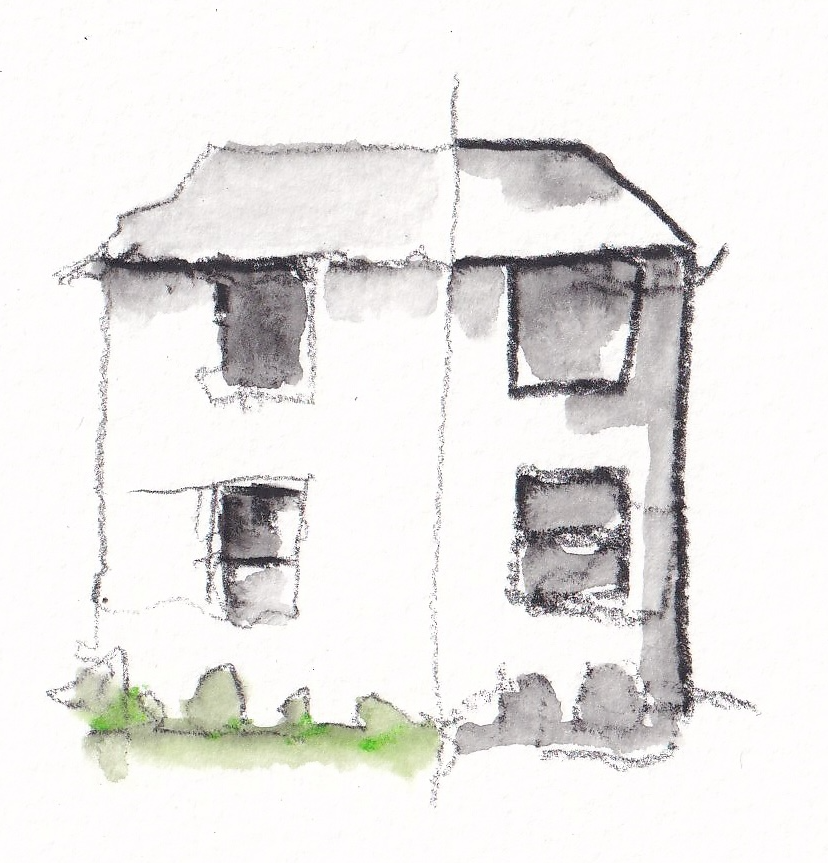
Start with light lines: Block in your main shapes using a gentle touch so you do not overload the paper with pigment.
Add weight for shadow: Go back over your sketch to add heavier lines or hatching only where you want deep shadows.
Plan your colour mixes: Lay down different colours side by side in your line work. Adding a touch of bright green pencil into dark ink line work will cause the green to mute down into a rich, earthy shadow tone as soon as water is applied.
Compare uniform and varied lines: Drawing everything with heavy, uniform lines results in a flat, dark wash when activated. Varying your line weight gives you a far more nuanced sketch with subtle highlights and rich contrast.
Exact supplies used in this lesson
Derwent Inktense pencils: Dark Chocolate, Chinese Ink, Sepia Ink, and Iron Green + A light green
Brushes: Medium water brush or round paintbrush
Paper: 200 gsm watercolour paper or sketchbook
EXTRA NOTES
In the extra notes this time, I just wanted to take a moment to show some really quite fantastic control that can be achieved from these pencils. Notice here, in these examples, just taken from your guys' comments. How, by just touching the line, we've achieved some really fantastic movement just into one shape.
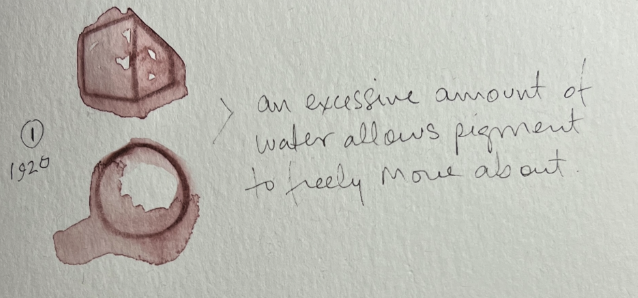
In this example, from Lorinda, which has been done on purpose, I must stress... you can see how a little bit too much water actually causes us to lose the structure and gain a fuzzy appearance to the lines.
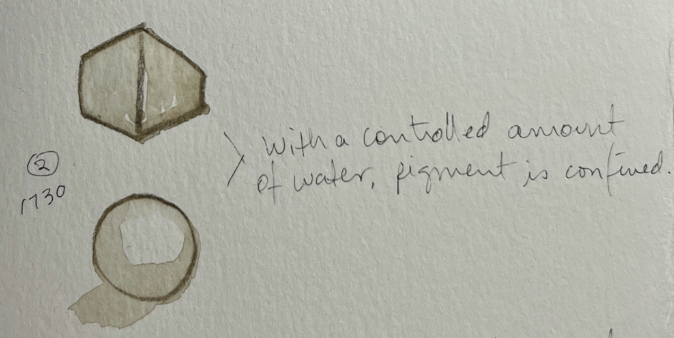
Lorinda then very carefully shows that with that more controlled amount of water just touching the lines, you get that control 👈. This is what we're after from these simple studies and exercises.